
Deploy an ink! Smart Contract
Overview
In this tutorial, we will learn how to deploy an ink! Smart Contract on CESS blockchain. ink! is developed by Parity, the implementation team responsible for the Polkadot Network, and is compiled into Wasm code for execution. It supports running in the WebAssembly Virtual Machine (Wasm VM), and Rust developers can use their already-familiar toolchain to develop smart contracts instead of learning a new language and toolchain.
Prerequisite
Install the Rust language and cargo. You can also check the official guide.
Next, install
cargo-contract, a CLI tool to help setting up and managing WebAssembly smart contracts written in ink! (GitHub repo).Verify the installation is successful by running the command:
This should display the command help messages similar to the following.
Create a Smart Contract
We will create a new smart contract project using the cargo-contract package downloaded in the previous step. Run the following command:
This command generates the following directory with three files
Take a peek into Cargo.toml on the contract dependencies and lib.rs on the contract source code.
Next, we will compile the code and run the test cases inside lib.rs to check everything work accordingly.
You should see the following output. This means all test cases have passed.
We can now build the contract code:
After the build is complete, the output artifacts are stored in target/ink/ directory. There are three key output files:
flipper.wasm- the wasm binary.flipper.json- a metadata file containing the contract ABI.flipper.contract- the contract code that bundles the above two files.
You can also make a release build with cargo contract build --release. The release build has optimization settings to make the code run more efficient in the Wasm VM, but the debug build is good enough for now.
You can also use one of the sample ink! smart contract codes here.
Deploy a Smart Contract
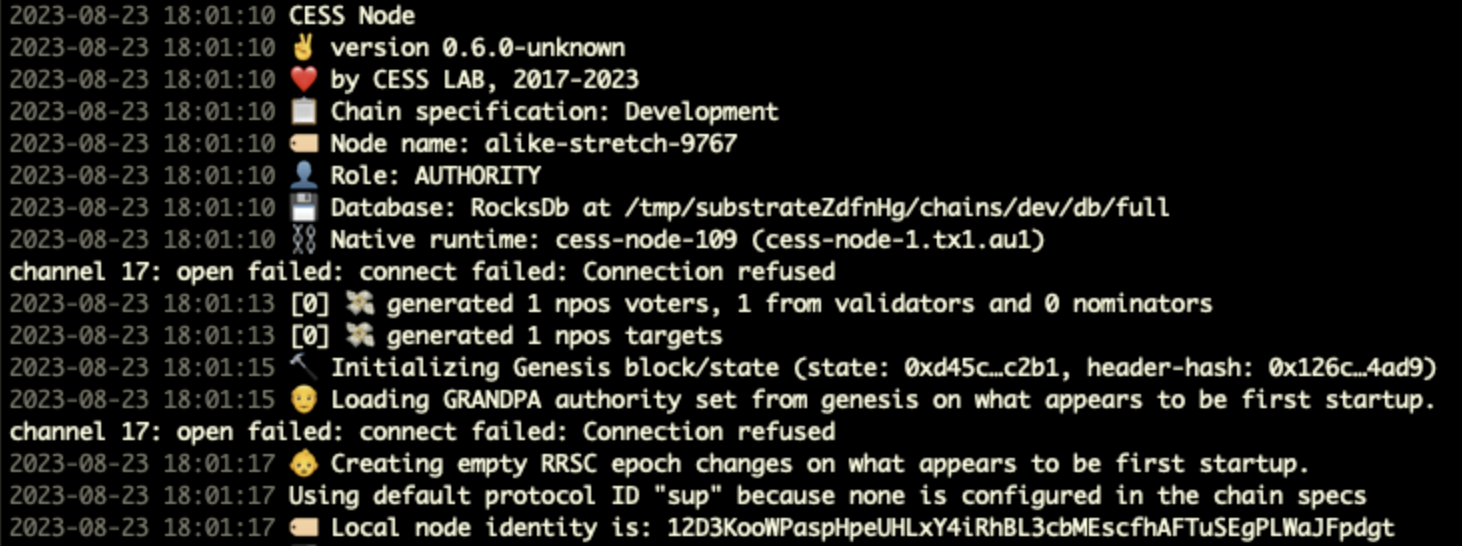
Run a local CESS node in development mode. Perform the following commands to clone CESS node source code, compile it, and run a local node.
Note: Building CESS requires Protocol Buffer version 3.25 or later. Please follow the protocol buffer installation instructions provided here.
The node will start running and the console will display something as below.
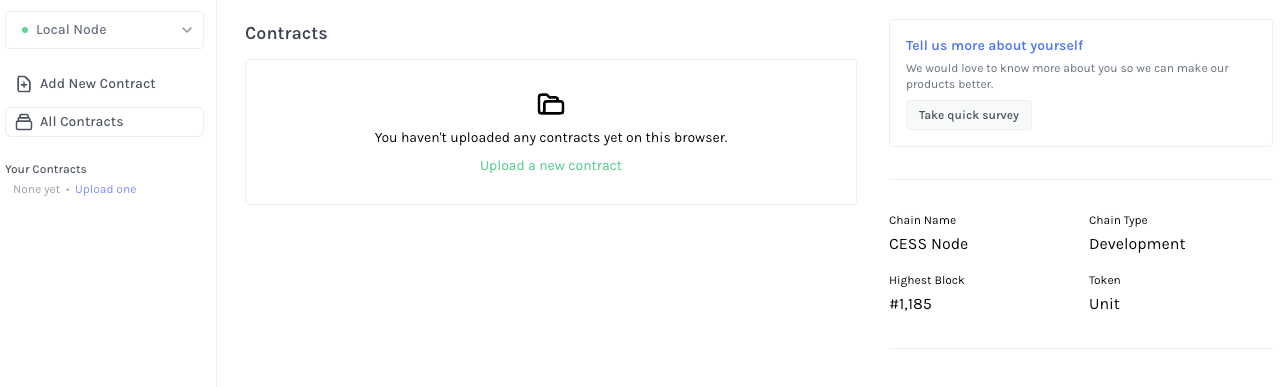
We will use Substrate Contracts UI to deploy and interact with an ink! smart contract, a UI tool developed by Parity. Let's connect Substrate Contracts UI to our local CESS node by:
https://contracts-ui.substrate.io/?rpc=ws://127.0.0.1:9944.
Click Upload a new contract.
In the next screen,
In Account select box, select alice to deploy the contract from Alice
Give the Contract Name the value Flipper Contract, and
Drag or open the file target/ink/flipper.contract in the Upload Contract Bundle.
You should see the contract metadata after choosing the right contract file. Then click Next.
Here, note that the contract code upload and instantiation are separated into two steps. In CESS chain you can have one copy of the smart contract code and multiple instances of that smart contract with different initialization configurations, thus saving blockchain space and encouraging code reuse. For example, multiple ERC20 tokens can reuse the same contract code with different units, logos, and symbols.
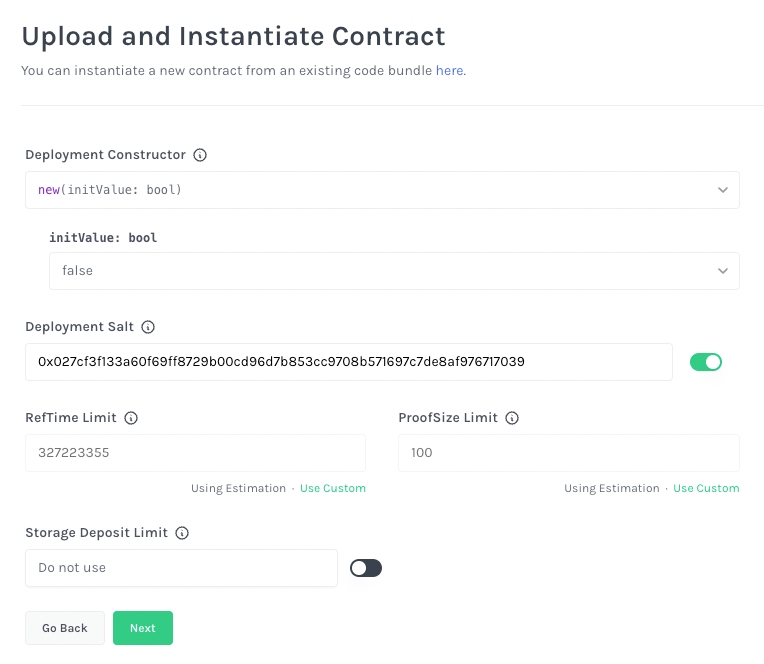
In this screen, we are combining code upload and contract instantiation in one step.
Deployment Constructor: select new(initValue: bool)
initValue: bool: select false
Leave the remaining setting unchanged, and click Next
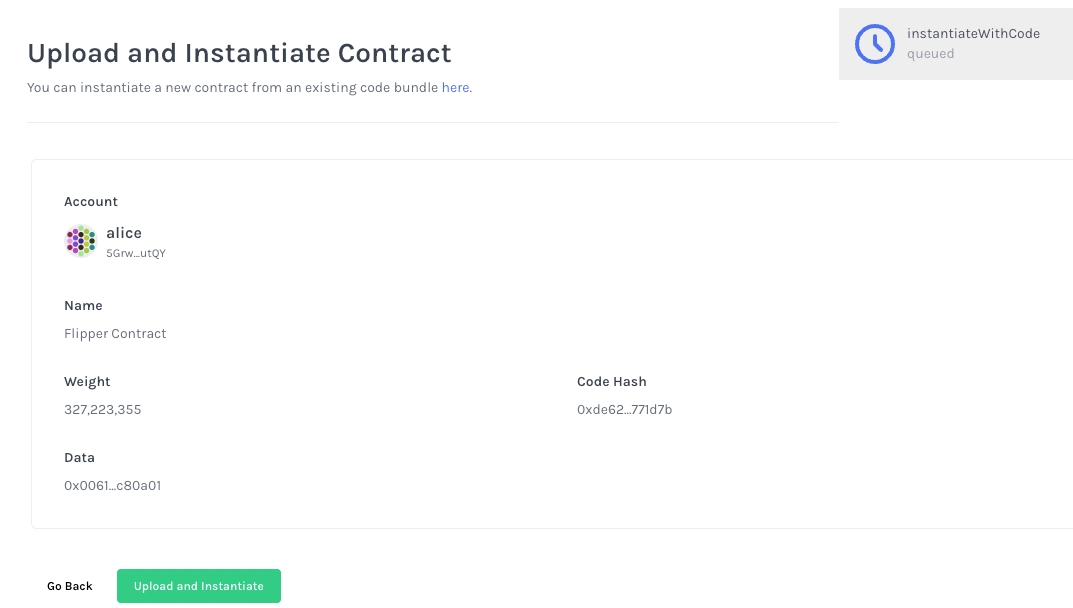
In the next screen, confirm everything looks good and click Upload and Instantiate.
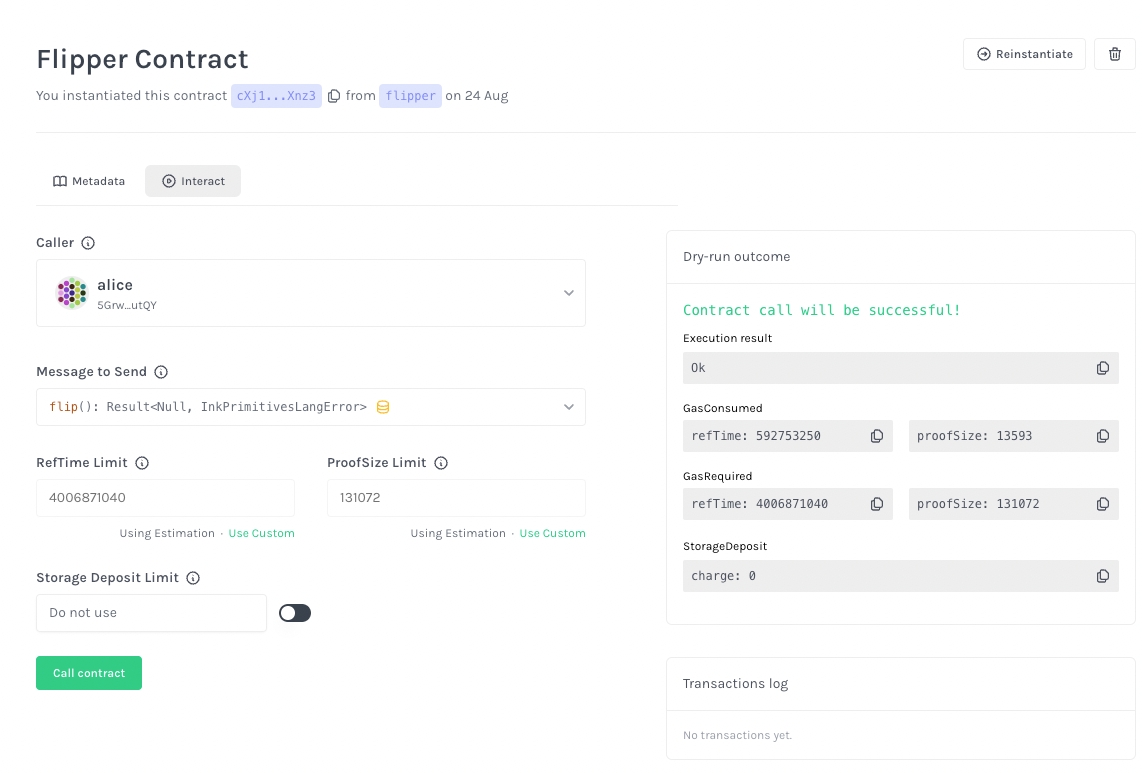
You have successfully instantiated a sample flipper contract in this screen.
Try interact with the flipper contract by reading the value from the smart contract and issue a transaction to it!
References
Last updated